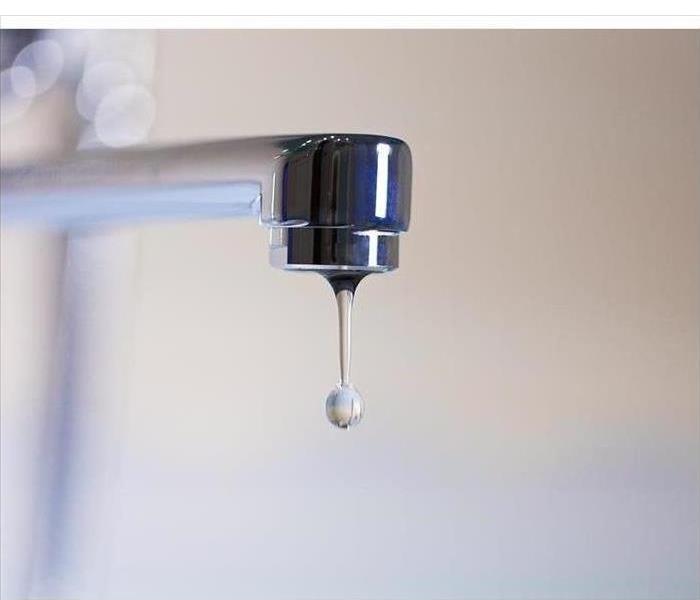
How To Fix a Leaky Faucet
8/15/2022 (Permalink)
While a leaky faucet might seem like a small nuisance, leaving it unfixed can lead to a number of unwanted consequences. Some of the more serious reasons you should take care of this issue are because a leaking faucet can
- Waste hundreds of gallons of water each year
- Increase the cost of your water bill
- Cause structural damage as severe wood damage or mold.
The DIY Guide to Fixing Your Leaking Faucet
Are you ready to take on the task yourself? Fixing a dripping faucet isn’t usually too complicated of a job. Follow our easy instructions and you should get your tap dry in no time.
1. Prepare Your Sink for Fixing
Before you fiddle with your faucet, look under your sink for a handle along the pipes leading up to the tap. Turn it clockwise to stop the water. Then plug your drain before you take apart your faucet, so you don’t lose any small screws or washers.
2. Determine Your Faucet Type
There are four different commonly found faucet types. A tap with separate temperature handles is called a compression faucet, while a tap with one handle can either be a ceramic-disk faucet (contains a ceramic cylinder), a ball faucet (contains a ball bearing) or a cartridge faucet (contains a cartridge).
3. Find Your Replacement Parts
Take your tap apart to check for broken parts (such the rubber washers on compression faucets) and give it a deep cleaning by soaking it in white vinegar. Take the stem and inner parts to a hardware store to find an exact replacement. Reassemble your new faucet and you should be good to go.
Assessing the Damage
If you’ve had a leaking faucet for a while, it’s good to get your sink area assessed for further damage. Find a restoration specialist in San Jose, CA to check that your house is mold-free and not at risk for any structural damage. They can also make sure that your fixed leak isn’t going to come back anytime soon — a comfort to any homeowner.


 24/7 Emergency Service
